💻 Ledger® Live: Download & Getting Started with Secure Crypto Management
Cryptocurrency security starts with control—over your private keys, your access, and your mindset. That's why Ledger® Live, the official app by Ledger, is essential for anyone using Ledger hardware wallets. Let’s walk you through everything—from downloading and installing Ledger Live to managing crypto securely and confidently.
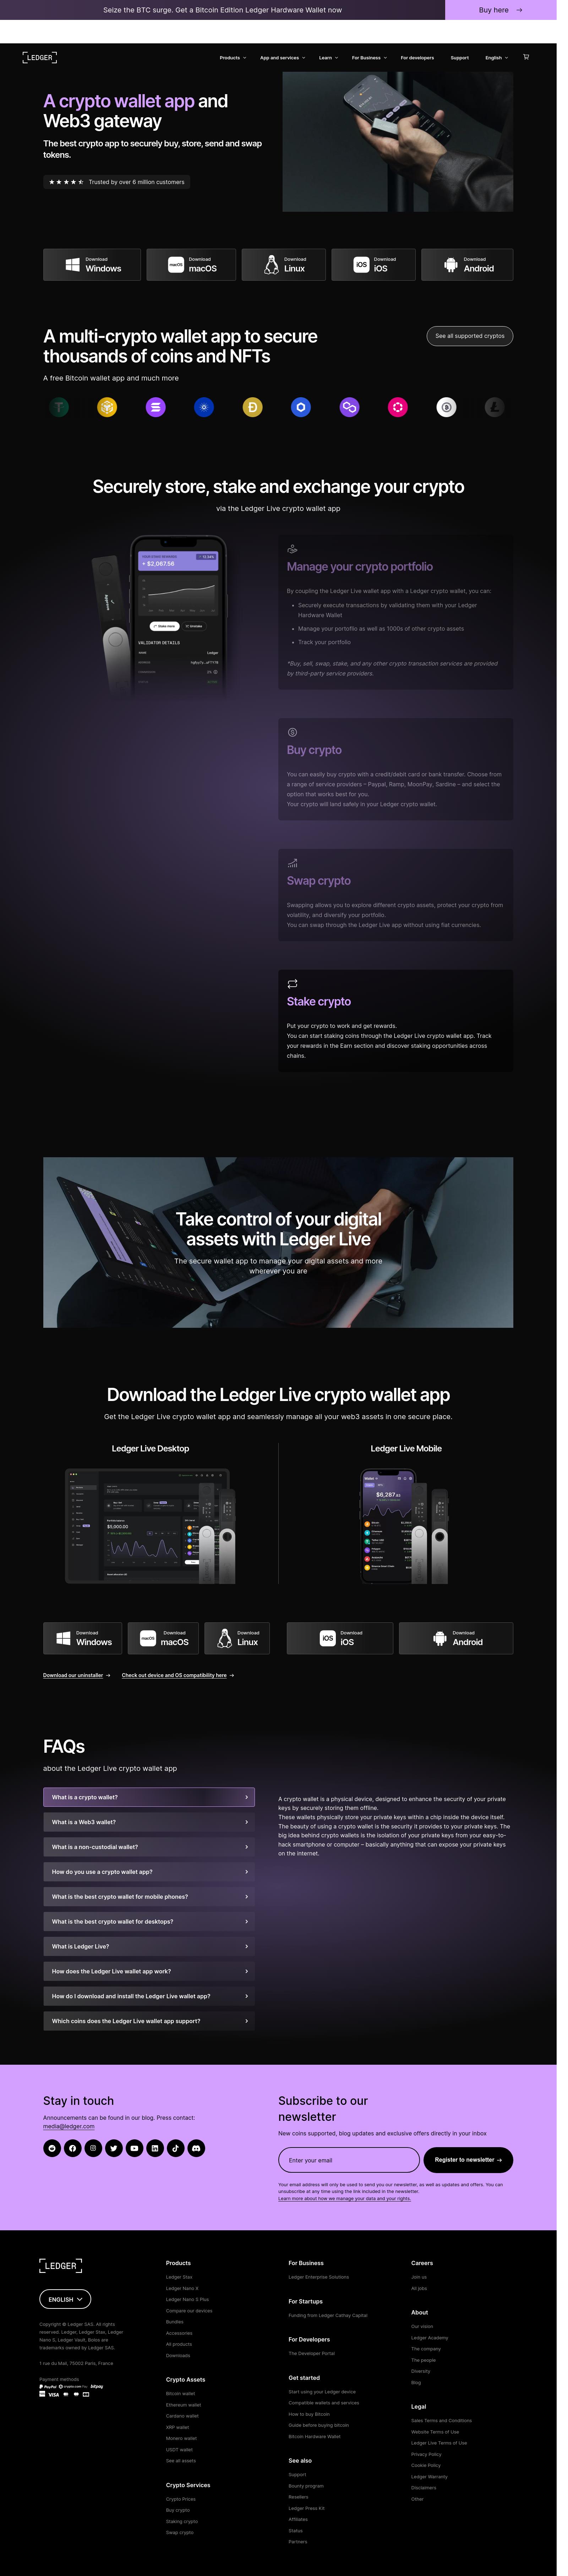
1. 🔐 What Is Ledger® Live?
Ledger Live is a comprehensive desktop and mobile application designed to work with Ledger hardware wallets like Nano S Plus™ and Nano X™. It serves as your secure dashboard to:
-
Buy, send, receive, and swap cryptocurrencies
-
Monitor portfolio balances and transaction history
-
Stake assets and earn rewards
-
Manage NFTs and Web3 integrations
It acts as a bridge—presenting financial insights while keeping your private keys offline.
2. ✅ Why Use Ledger® Live?
-
Full Self-Custody: Private keys remain offline in your Ledger device—always.
-
Holistic Management: Manage 5,500+ assets (coins, tokens, NFTs) in one place.
-
Secure Transactions: Every transaction is verified physically on your hardware wallet.
-
Fiat On-Ramps and Swaps: Buy, sell, or swap within the app using trusted partners.
-
Staking & DeFi Tools: Access staking rewards and decentralized apps—all securely.
3. 🛠️ Step 1: Download & Install Ledger® Live
Start at the official Ledger website to avoid phishing:
▶️ Download: https://ledger.com/start
For Desktop (Windows/Mac/Linux):
-
Click download and run the installer.
-
Open the app once installed.
For Mobile (iOS/Android):
-
Download from the App Store or Play Store.
-
Pair with your Ledger hardware via USB or Bluetooth (Nano X).
4. 🚀 Step 2: Initialize Your Ledger Device
Whether it's your first time or restoring from backup, follow these steps:
-
Connect your Ledger hardware wallet.
-
Choose “Set up as new device” (or “Restore backup”).
-
Create a PIN code (4–8 digits).
-
Record your 24-word recovery phrase—write it down and store it offline.
-
Confirm a few randomly selected words to complete setup.
If restoring from backup, re-enter your recovery phrase carefully.
5. 💼 Step 3: Pair Ledger Live with Your Device
Back in Ledger Live:
-
Choose “Add device” and follow on-screen prompts.
-
App will detect your Ledger wallet.
-
Connect and verify with PIN.
-
Ledger Live checks for firmware updates—apply if available.
Your device is now paired and ready for secure asset management.
6. 📊 Step 4: Add Crypto Accounts
To manage assets:
-
Go to “Accounts” within Ledger Live.
-
Choose a coin (e.g., Bitcoin, Ethereum).
-
Ledger Live will prompt you to open the relevant app on your Ledger device.
-
Confirm installation and add the account.
Repeat to manage multiple coins and tokens under one UI.
7. 🔄 Step 5: Send, Receive, and Swap Crypto
Receive Funds
-
Click Receive → choose asset → verify on device → Provide address.
-
Use this address to receive from exchanges or friends.
Send Funds
-
Click Send → enter destination, amount, fees → review on device → confirm.
Swap Tokens
-
Use built-in exchange service → select assets → choose offer → sign on device → complete.
All confirmations happen on-device, ensuring security.
8. 💰 Step 6: Buy Crypto Inside Ledger Live
No need to leave the app:
-
Click Buy Crypto.
-
Choose partner (MoonPay, Coinify, etc.).
-
Enter amount, choose asset, confirm payment.
-
Crypto lands securely in your chosen account.
This simplifies fiat onboarding with bypassing centralized exchanges.
9. 📈 Step 7: Stake Assets
Earn passive income on eligible assets:
-
Go to Earn → pick a coin (ETH, DOT, ADA, etc.).
-
Follow instructions—stake via partner service.
-
Confirm on your device.
-
Monitor rewards and unstake when ready.
Ledger Live makes this secure and easy.
10. 🖼️ Step 8: Manage NFTs & Explore Web3
NFT management is integrated:
-
Click NFTs to view or send tokens on supported networks (Ethereum, Polygon).
-
Ledger Live supports Web3 via Ledger Live + Ledger Connect, allowing safe access to DeFi, DApps, and NFT marketplaces—while securing transactions via your device.
11. 🛡️ Step 9: Stay Secure
Security is ledger’s top priority:
-
Always download Ledger Live from ledger.com
-
Never share your PIN or 24‑word recovery phrase
-
Verify addresses and fiat partners
-
Keep firmware and app updated
-
Use passphrase mode for added security (meta account label)
Errors can lead to risk, so staying vigilant is key.
12. ⏳ Step 10: Back Up & Recovery
Keeping your recovery phrase safe is essential. If your Ledger wallet is lost or damaged:
-
Buy a new Ledger.
-
Choose Restore device at setup.
-
Enter recovery phrase carefully.
-
Reinstall accounts via Ledger Live.
Access to your funds is restored via backup—your asset remains secure.
13. 🧠 Advanced Features & Tips
-
Apps Installation: Manually install blockchain apps via Manager.
-
Settings: Set fiat currency, change themes, enable privacy settings (data opt‑out, etc.).
-
Dashboard: Gain portfolio overview with total value and earning trends.
14. 📞 Ledger® Support & Resources
Need help?
-
Official Support Portal: support.ledger.com
-
FAQs & Tutorials
-
Ticket submission (never request your PIN/phrase)
-
Active community & educational guides
15. 🌟 Final Thoughts: Why Ledger® Live?
With Ledger Live, you get:
-
Hardware‑backed security
-
Unified management of 5,500+ assets
-
Fiat on‑ramps, swaps, staking, NFTs
-
Portfolio insights & analytics
-
A trusted companion and gateway to Web3
Ledger Live empowers you to own your financial sovereignty, worry-free.
✅ Next Steps
-
📥 Download Ledger Live
-
🔌 Initialize Ledger device
-
💱 Add and manage accounts
-
💵 Buy, swap, stake—securely
-
🔄 Institute backup & recovery
Your keys. Your Ledger. Your crypto.